Tutorial: Run your first week
You are a new sales manager setting up your first campaign week. By the end of this tutorial you will have a live campaign, imported leads, reps assigned, and a report view you can share with leadership.
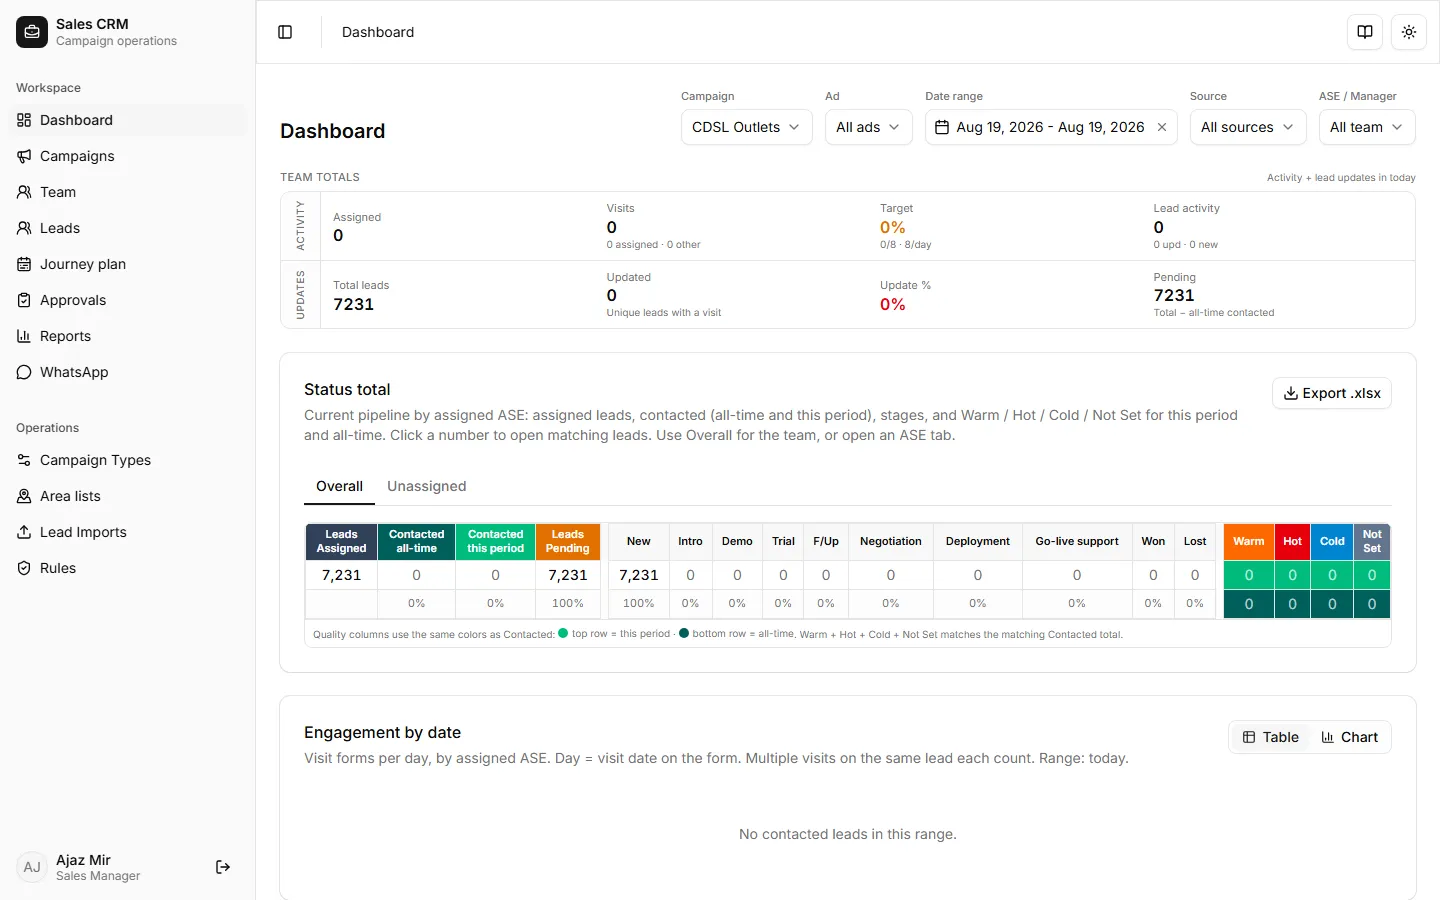
1. Open the dashboard
Section titled “1. Open the dashboard”Sign in and land on Workspace → Dashboard. Confirm your KPI cards load, pick the campaign, and set date / ASE filters for the week you are planning. See Use the dashboard.
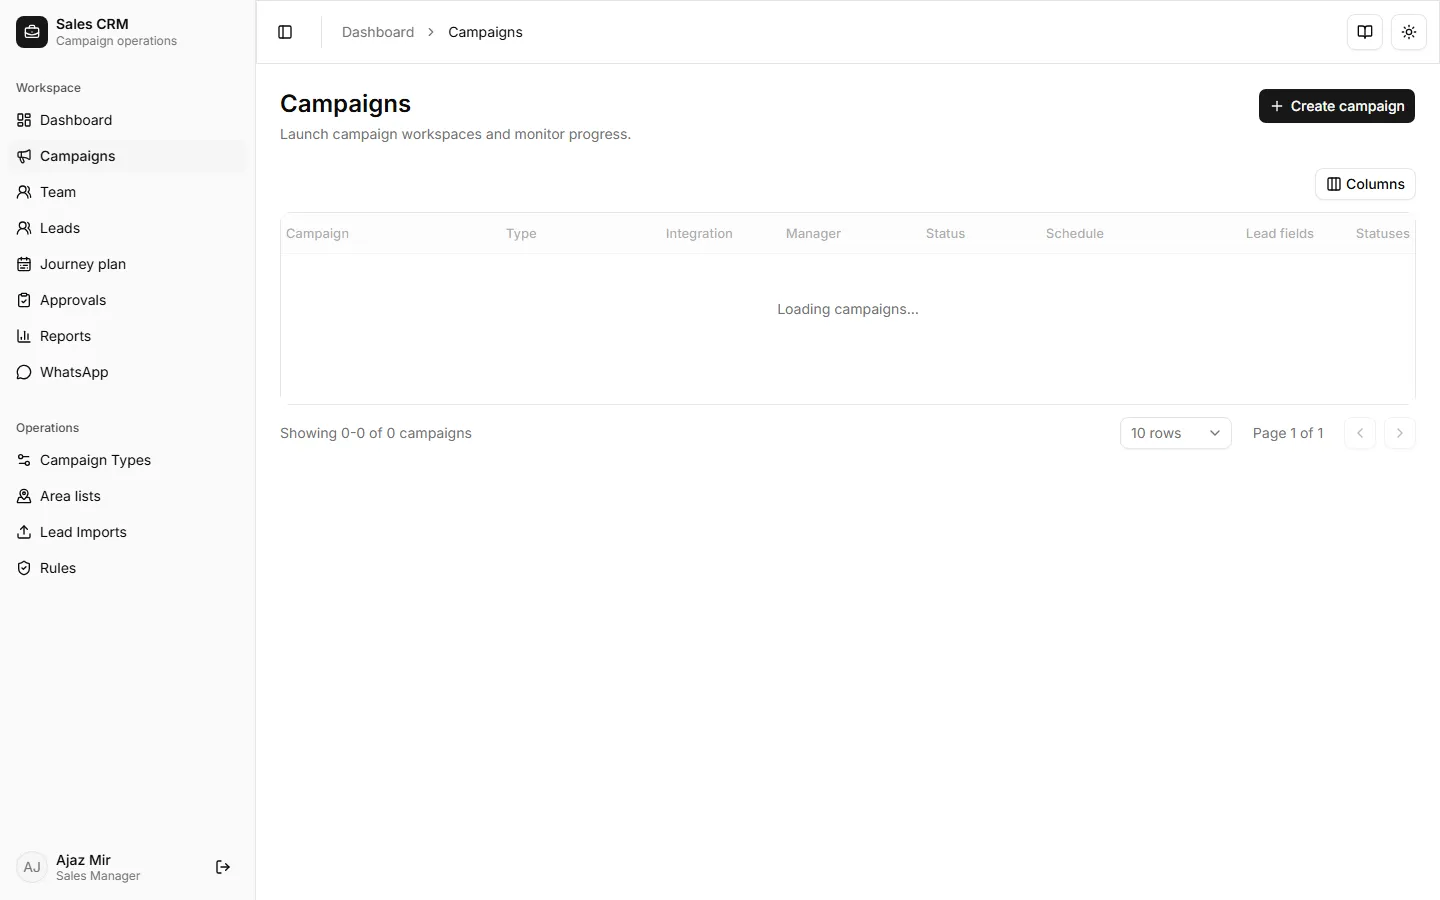
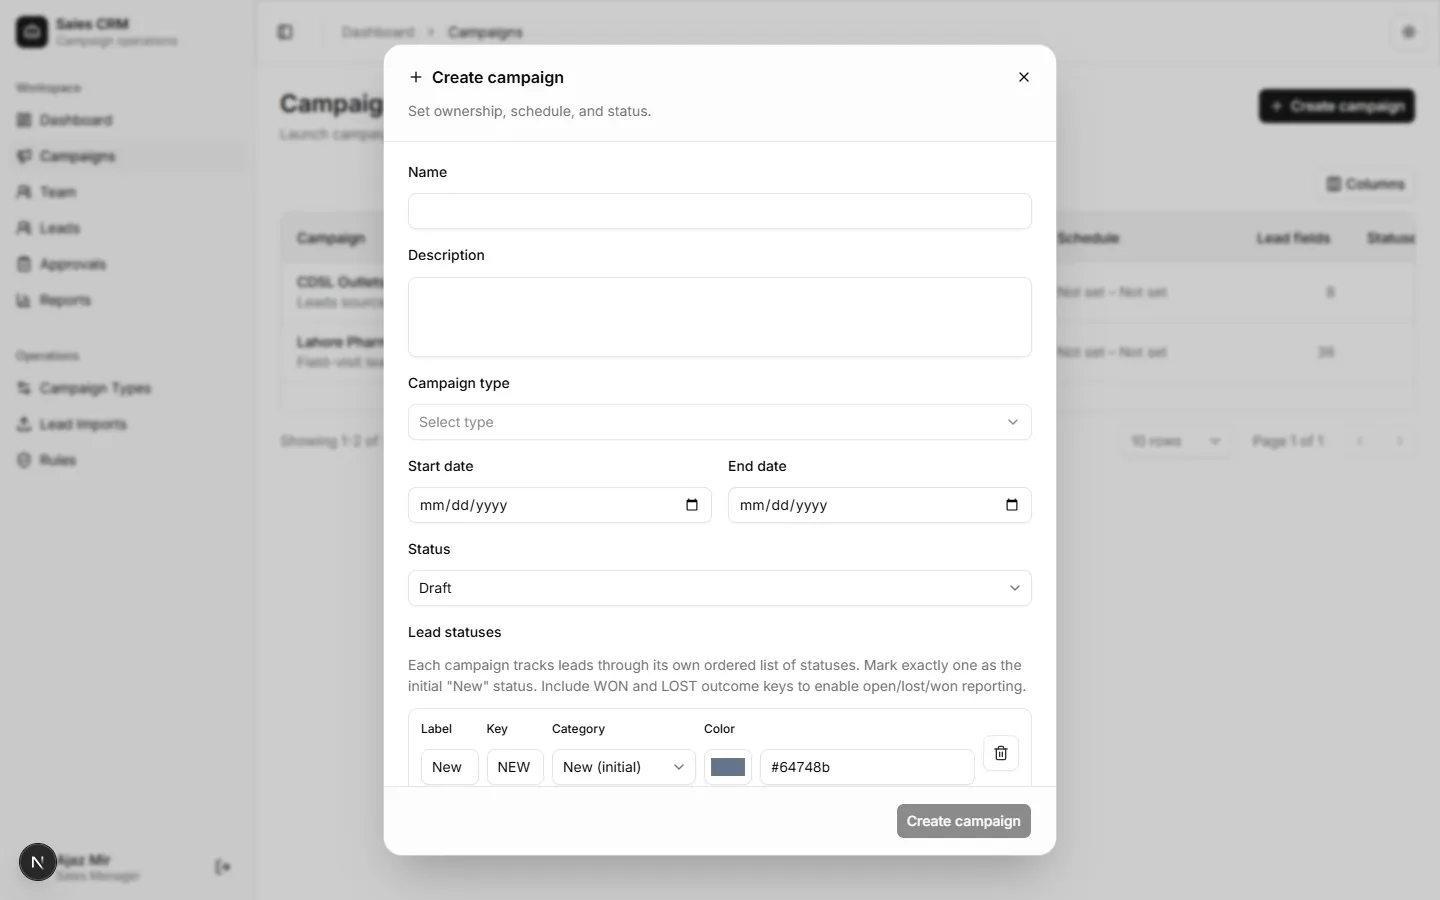
2. Create a campaign
Section titled “2. Create a campaign”Go to Workspace → Campaigns and click Create campaign. Pick a campaign type, set dates, and save. Your campaign is the container for leads and visit fields this quarter.
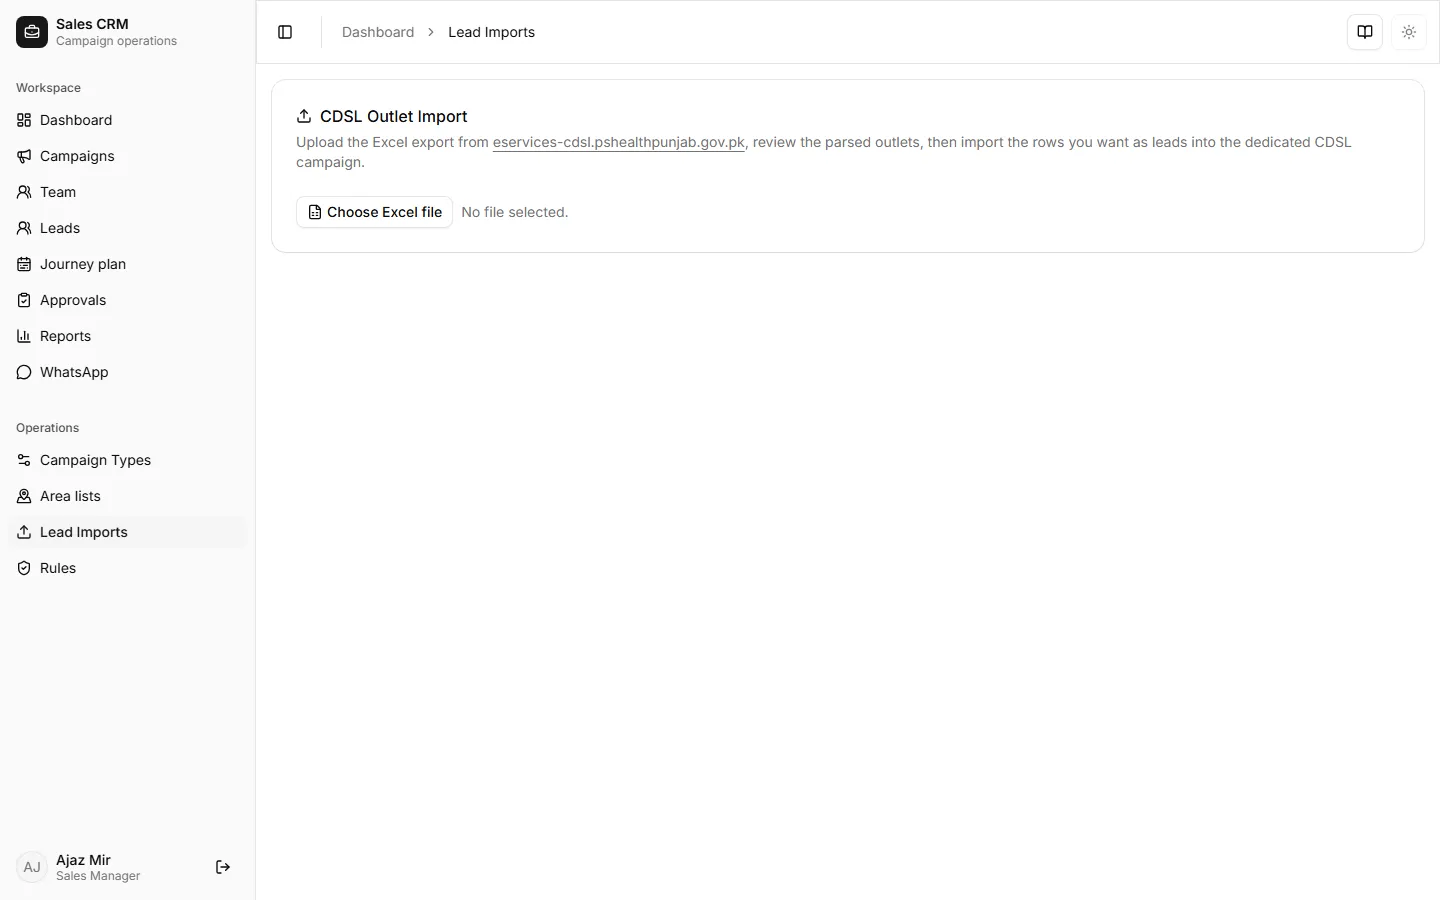
3. Import CDSL outlet leads
Section titled “3. Import CDSL outlet leads”Open Operations → Lead Imports. Upload your CDSL Excel file, map columns, and run the import. The system deduplicates by license number and attaches leads to the campaign.
4. Assign leads to reps
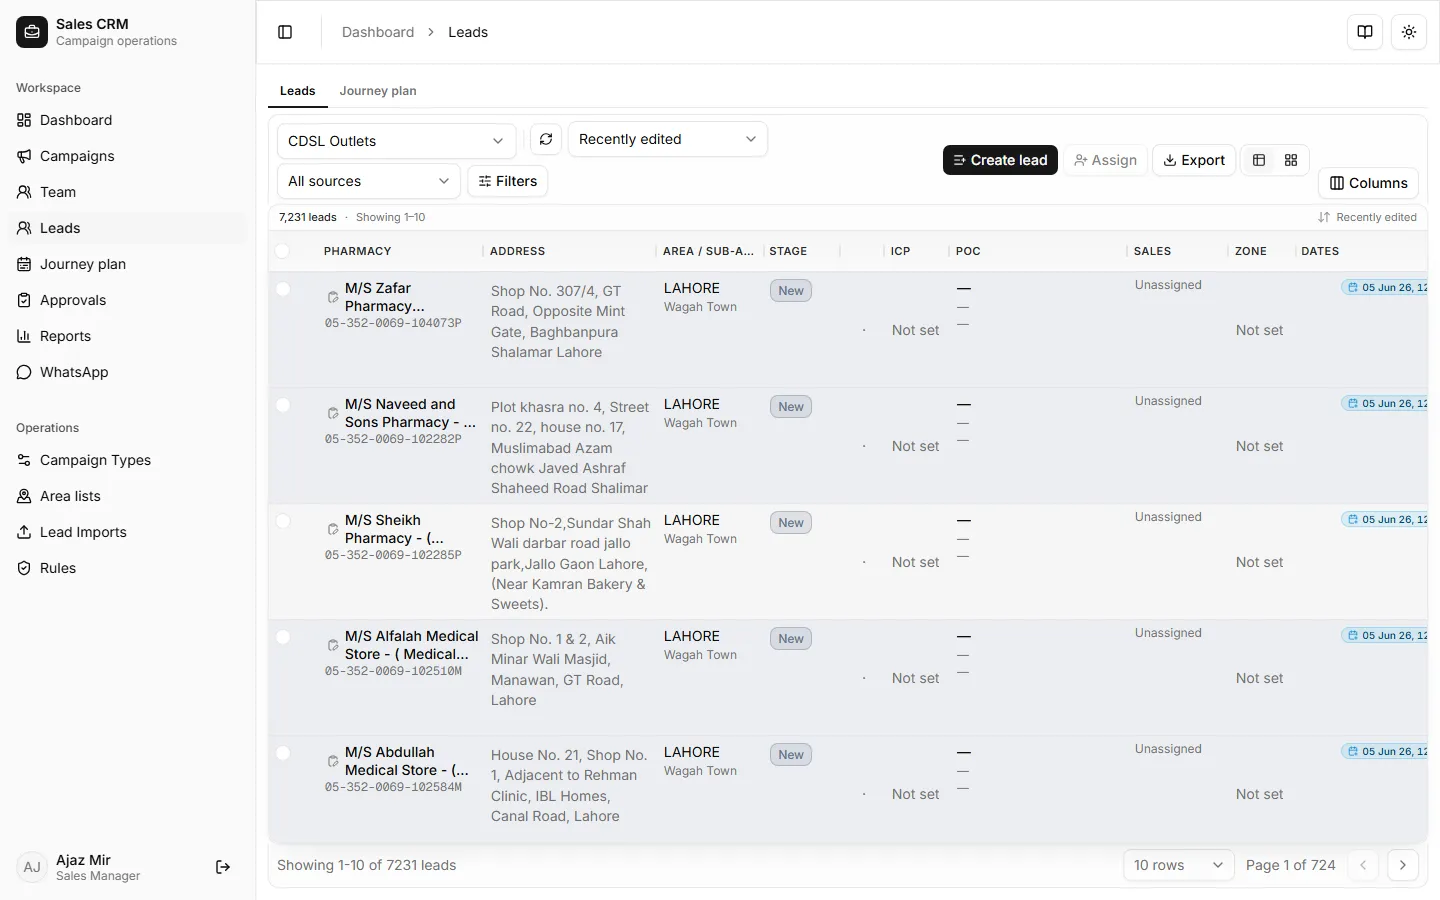
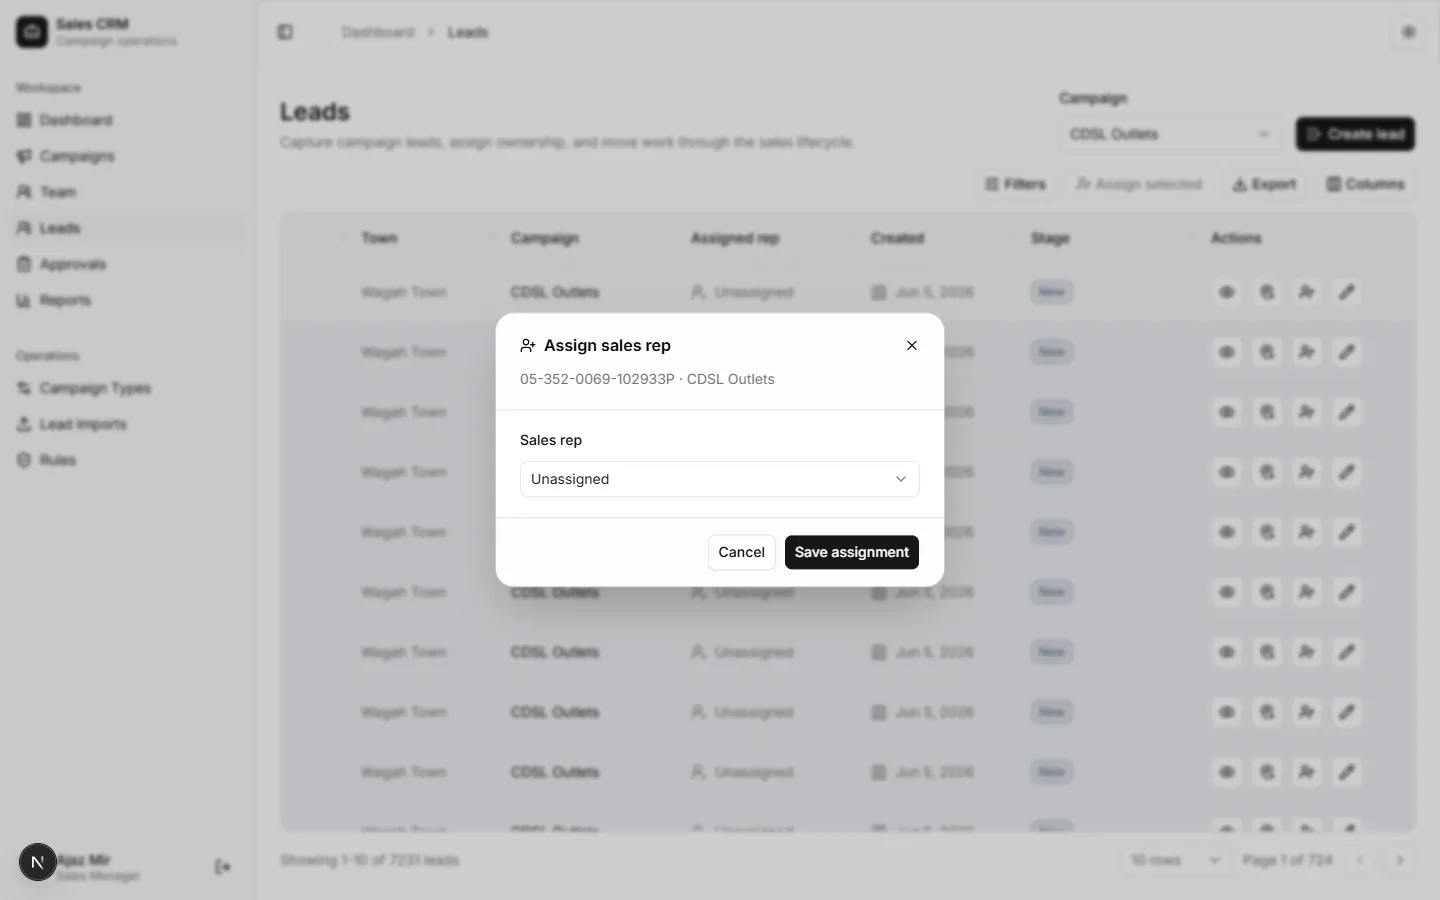
Section titled “4. Assign leads to reps”Go to Workspace → Leads, filter to your new campaign, and assign outlets to field reps. Use single-row assign for one-offs or bulk assign when splitting a territory.
5. Review a rep lead request
Section titled “5. Review a rep lead request”When a rep submits a new lead from the field, it appears under Workspace → Approvals. Approve or reject with a note so the rep knows the outcome.
6. Check team reports
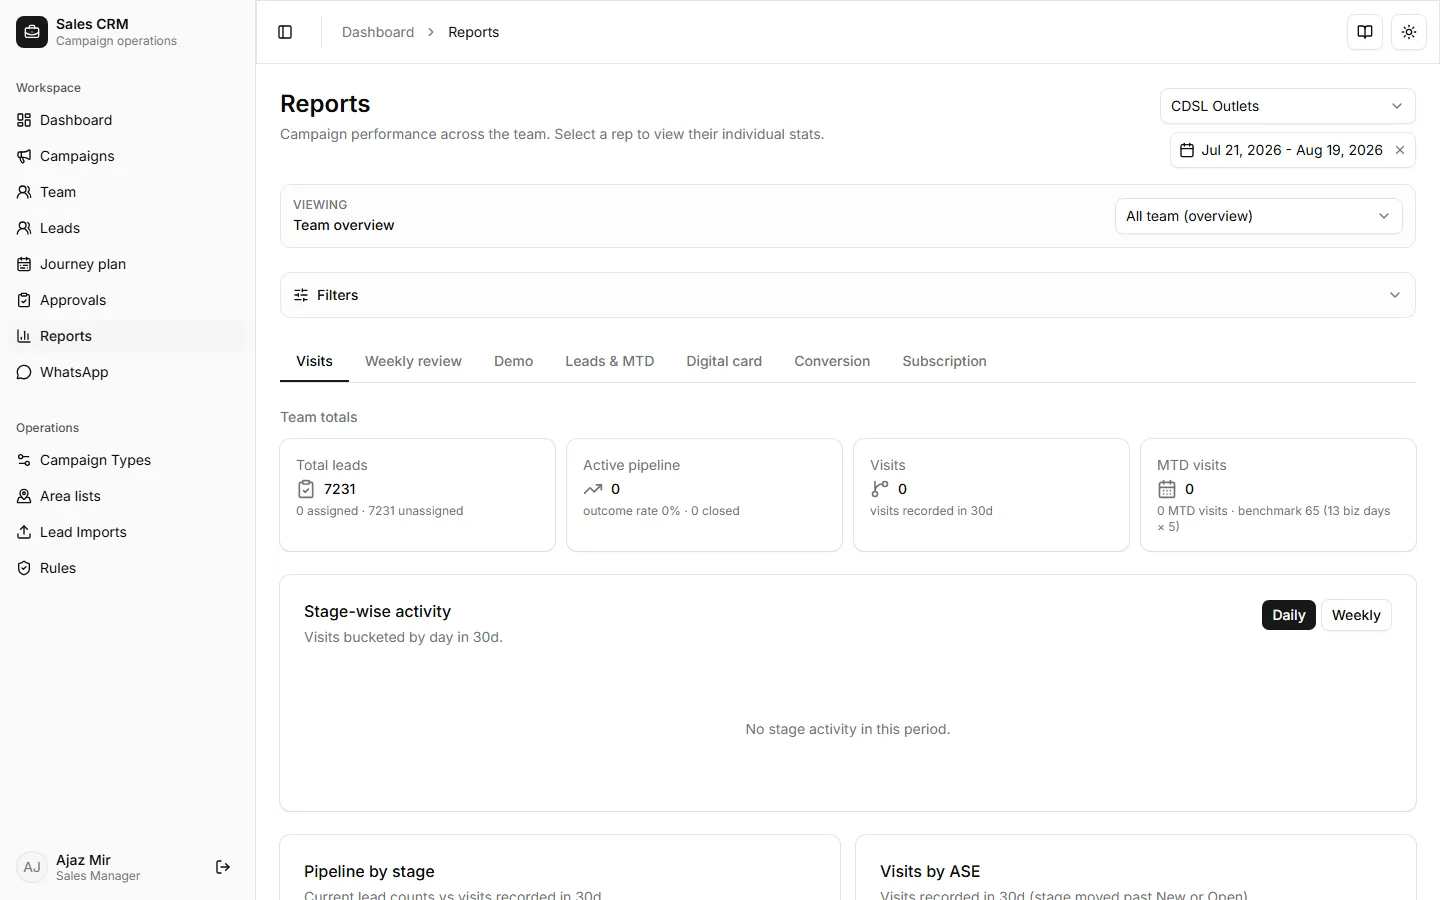
Section titled “6. Check team reports”Finish the week on Workspace → Reports. Start with Visits and Weekly review (ASE quality) plus Leads & MTD for pipeline movement.
You have now run a full manager week: campaign setup, bulk intake, assignment, approvals, and reporting. Keep the how-to index handy for individual tasks.