Tutorial: Lead approval workflow
When a rep finds an outlet in the field that is not on the campaign list, they submit a lead request. Managers review those requests in Approvals before the lead enters the pipeline.
Reps follow the complementary guide: New lead, approval, and visit.
Flow at a glance
Section titled “Flow at a glance”flowchart LR
A[Rep submits lead] --> B[Pending in Approvals]
B --> C{Manager decision}
C -->|Approve| D[Lead created on campaign]
C -->|Reject| E[Rep sees reason]
E --> F[Rep resubmits]
F --> B
D --> G[Rep logs visit]
1. Open the approvals queue
Section titled “1. Open the approvals queue”- Sign in as a sales manager or admin.
- Go to Workspace → Approvals.
- Filter by Status → Pending and optionally by Campaign.
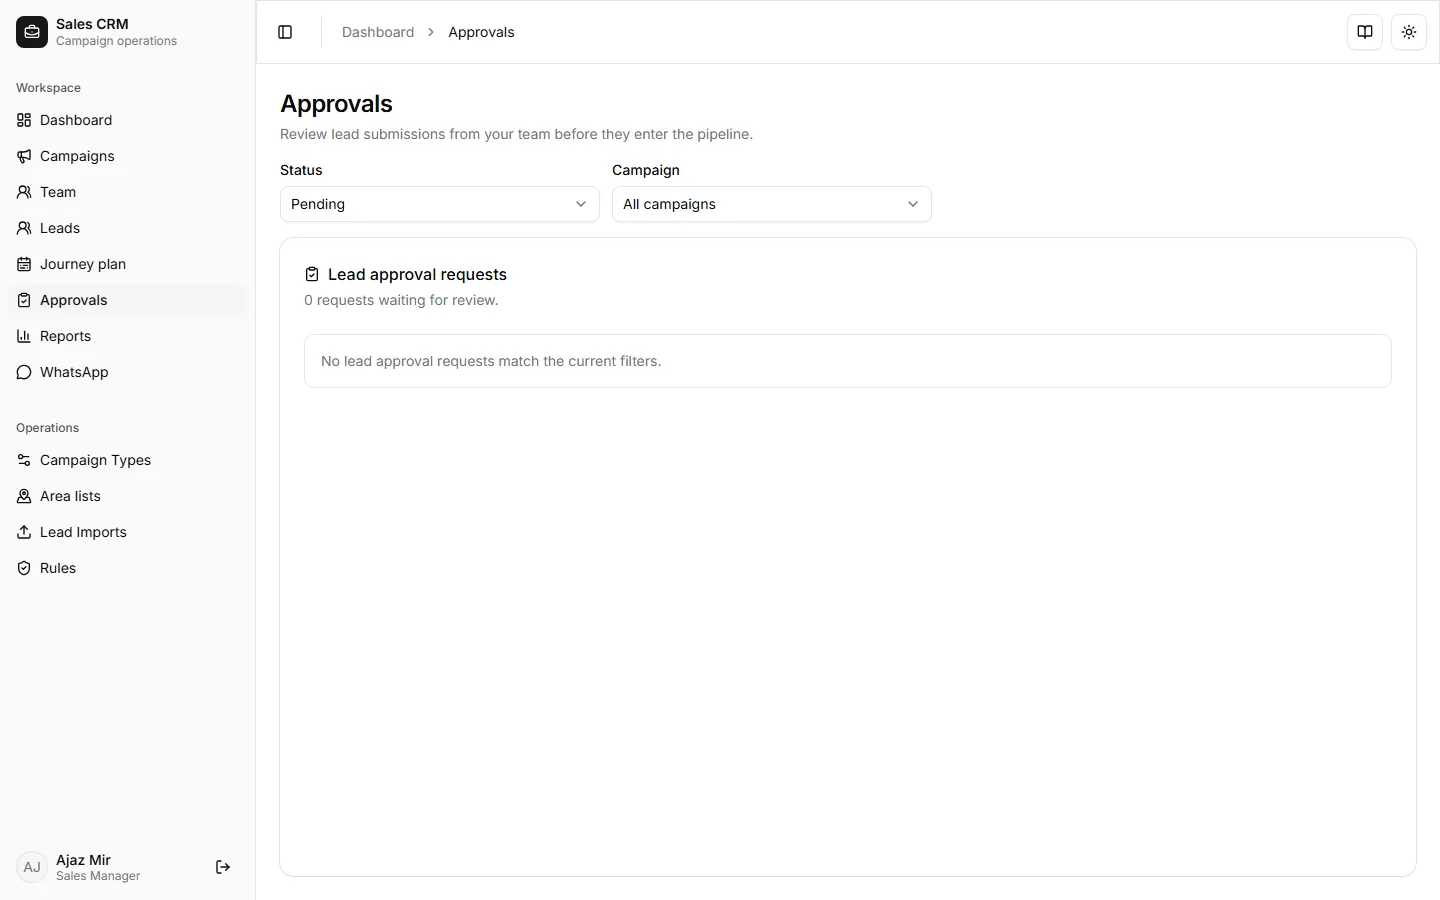
The page lists every lead creation request waiting for review.
2. Review a pending request
Section titled “2. Review a pending request”- Click a request in the list.
- Read the creation fields the rep filled — name, address, identifiers, contacts.
- Confirm the outlet is not a duplicate of an existing lead on the campaign.
If you need to create a lead yourself (no rep submission), use Leads → Create lead instead:
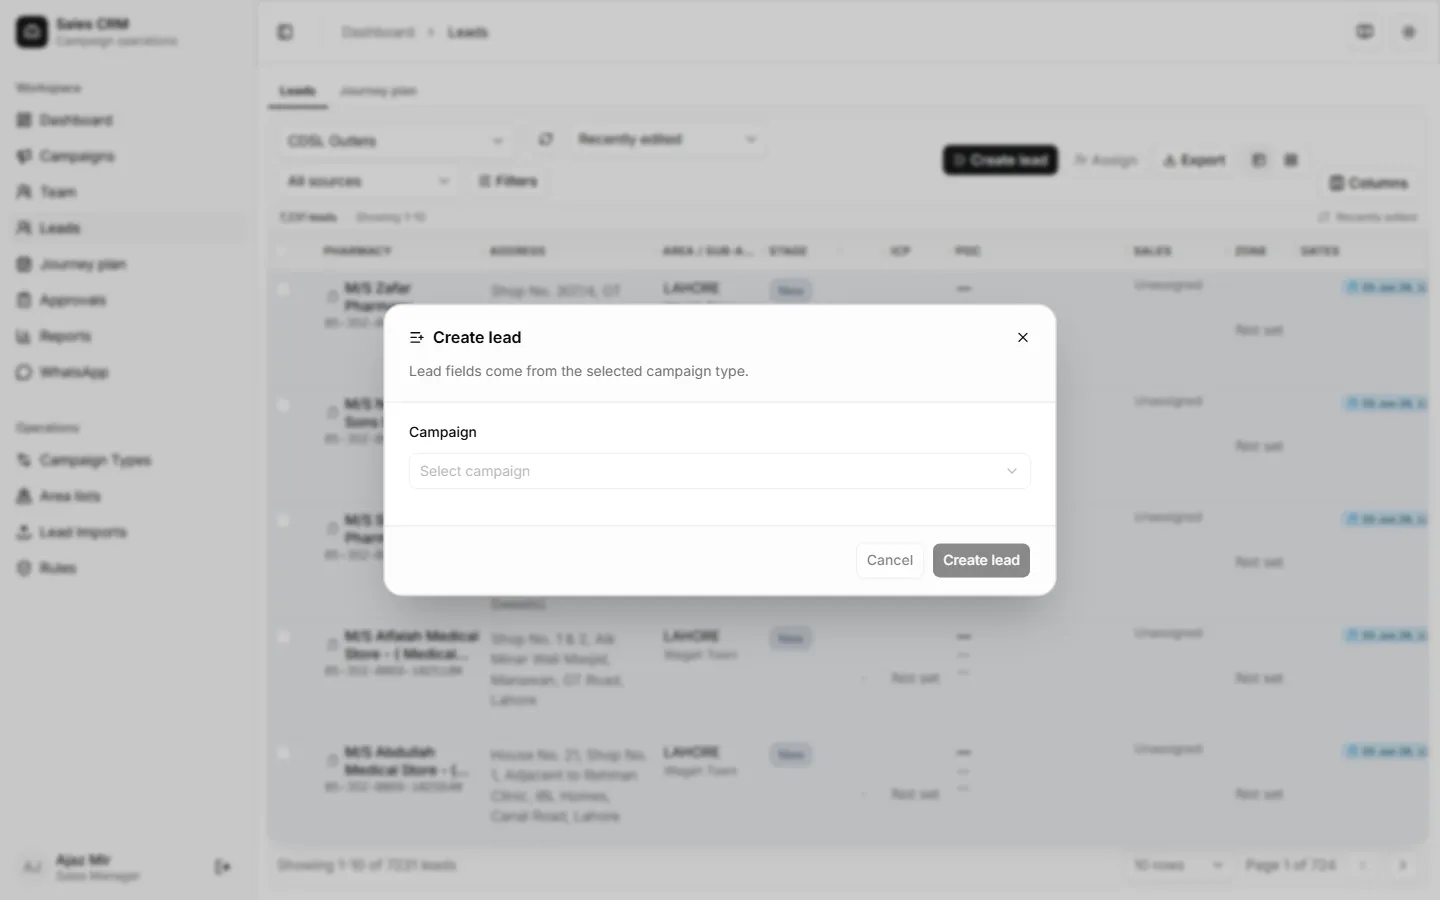
Managers can create leads directly without the approval queue.
3. Approve or reject
Section titled “3. Approve or reject”| Action | When to use | Result |
|---|---|---|
| Approve | Outlet is valid and new | Lead is created; rep sees it on their list |
| Reject | Duplicate, wrong territory, or incomplete data | Rep sees your reason and can resubmit |
After Approve, assign the lead to the submitting rep (or bulk-assign) if it is not auto-assigned.
4. Rep records the visit
Section titled “4. Rep records the visit”Once the lead exists, the rep opens Leads → [lead] → Visits → Add visit to log field activity. Visits feed team Dashboard KPIs and Reports.
Success checklist
Section titled “Success checklist”- Pending queue reviewed regularly (daily or per campaign rhythm)
- Duplicates rejected with a clear reason
- Approved leads assigned to the correct rep
- Reps notified implicitly when the lead appears on their book
Related
Section titled “Related”- Review lead approvals — quick reference
- Assign a lead
- New lead, approval, and visit — rep side